My Sewing Room Tour
I have had my own sewing space for over a year now. After spending a day of cleaning and organizing that little space (long overdue!), I’m ready to show some pictures!
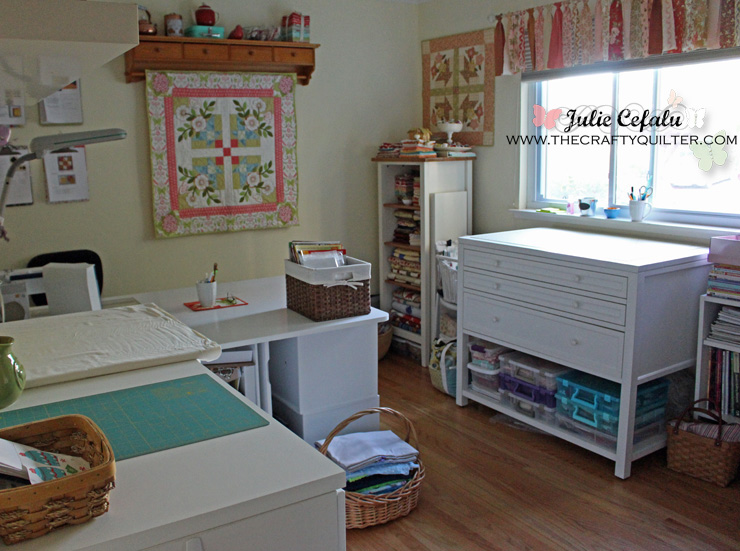
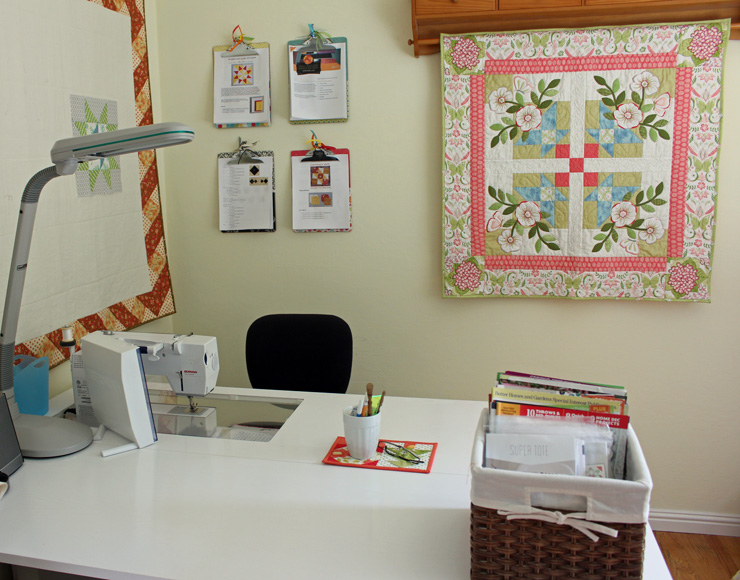
This is what you see when you walk in:
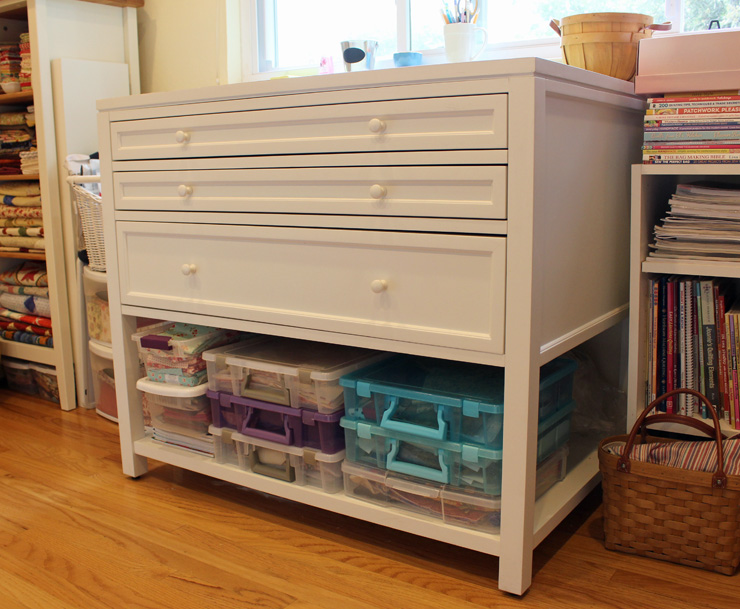
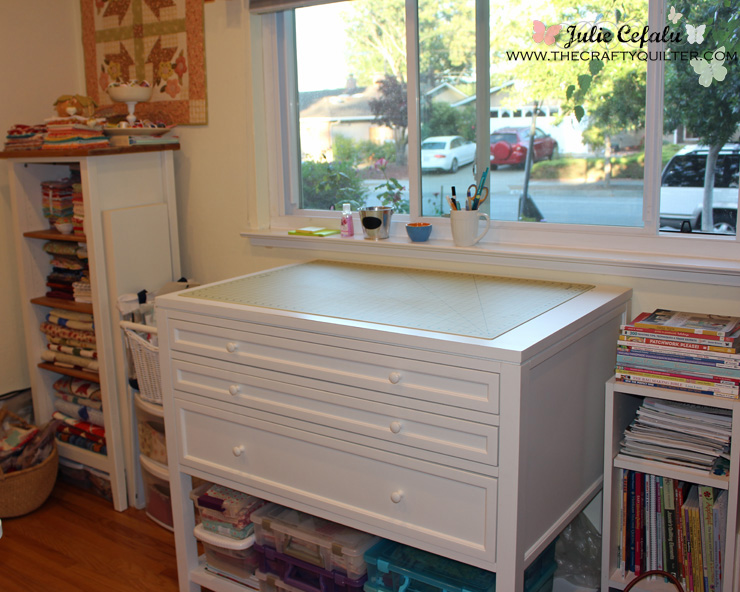
I love my cutting table that sits right under the window. This was the first thing I bought for this room. It’s from Martha Stewart Living Craft Space and I bought in online at Home Decorator’s Collection. It took my husband and me all day to assemble, but it was worth it! It’s a great height for cutting and fits a large cutting mat perfectly.
The drawers are huge and have built in dividers that you can arrange any way you choose. I keep all of my specialty rulers in the middle drawer and most of my other tools are located in the top and bottom drawer. Underneath are my project containers.
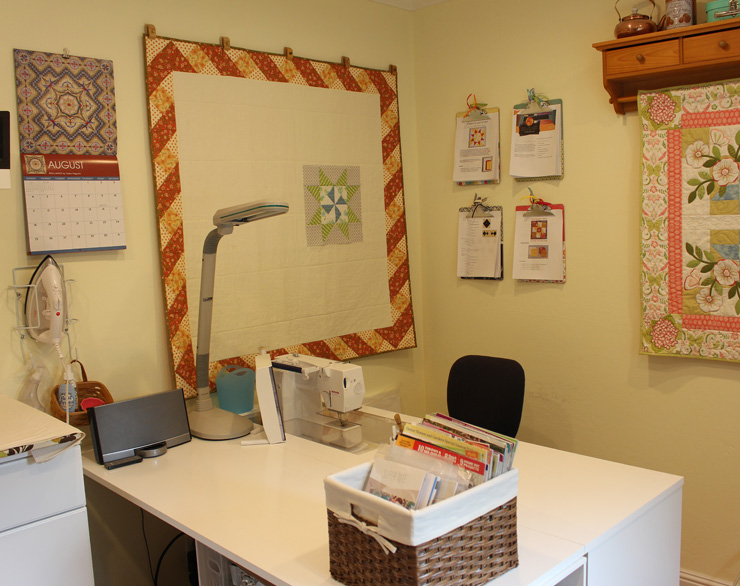
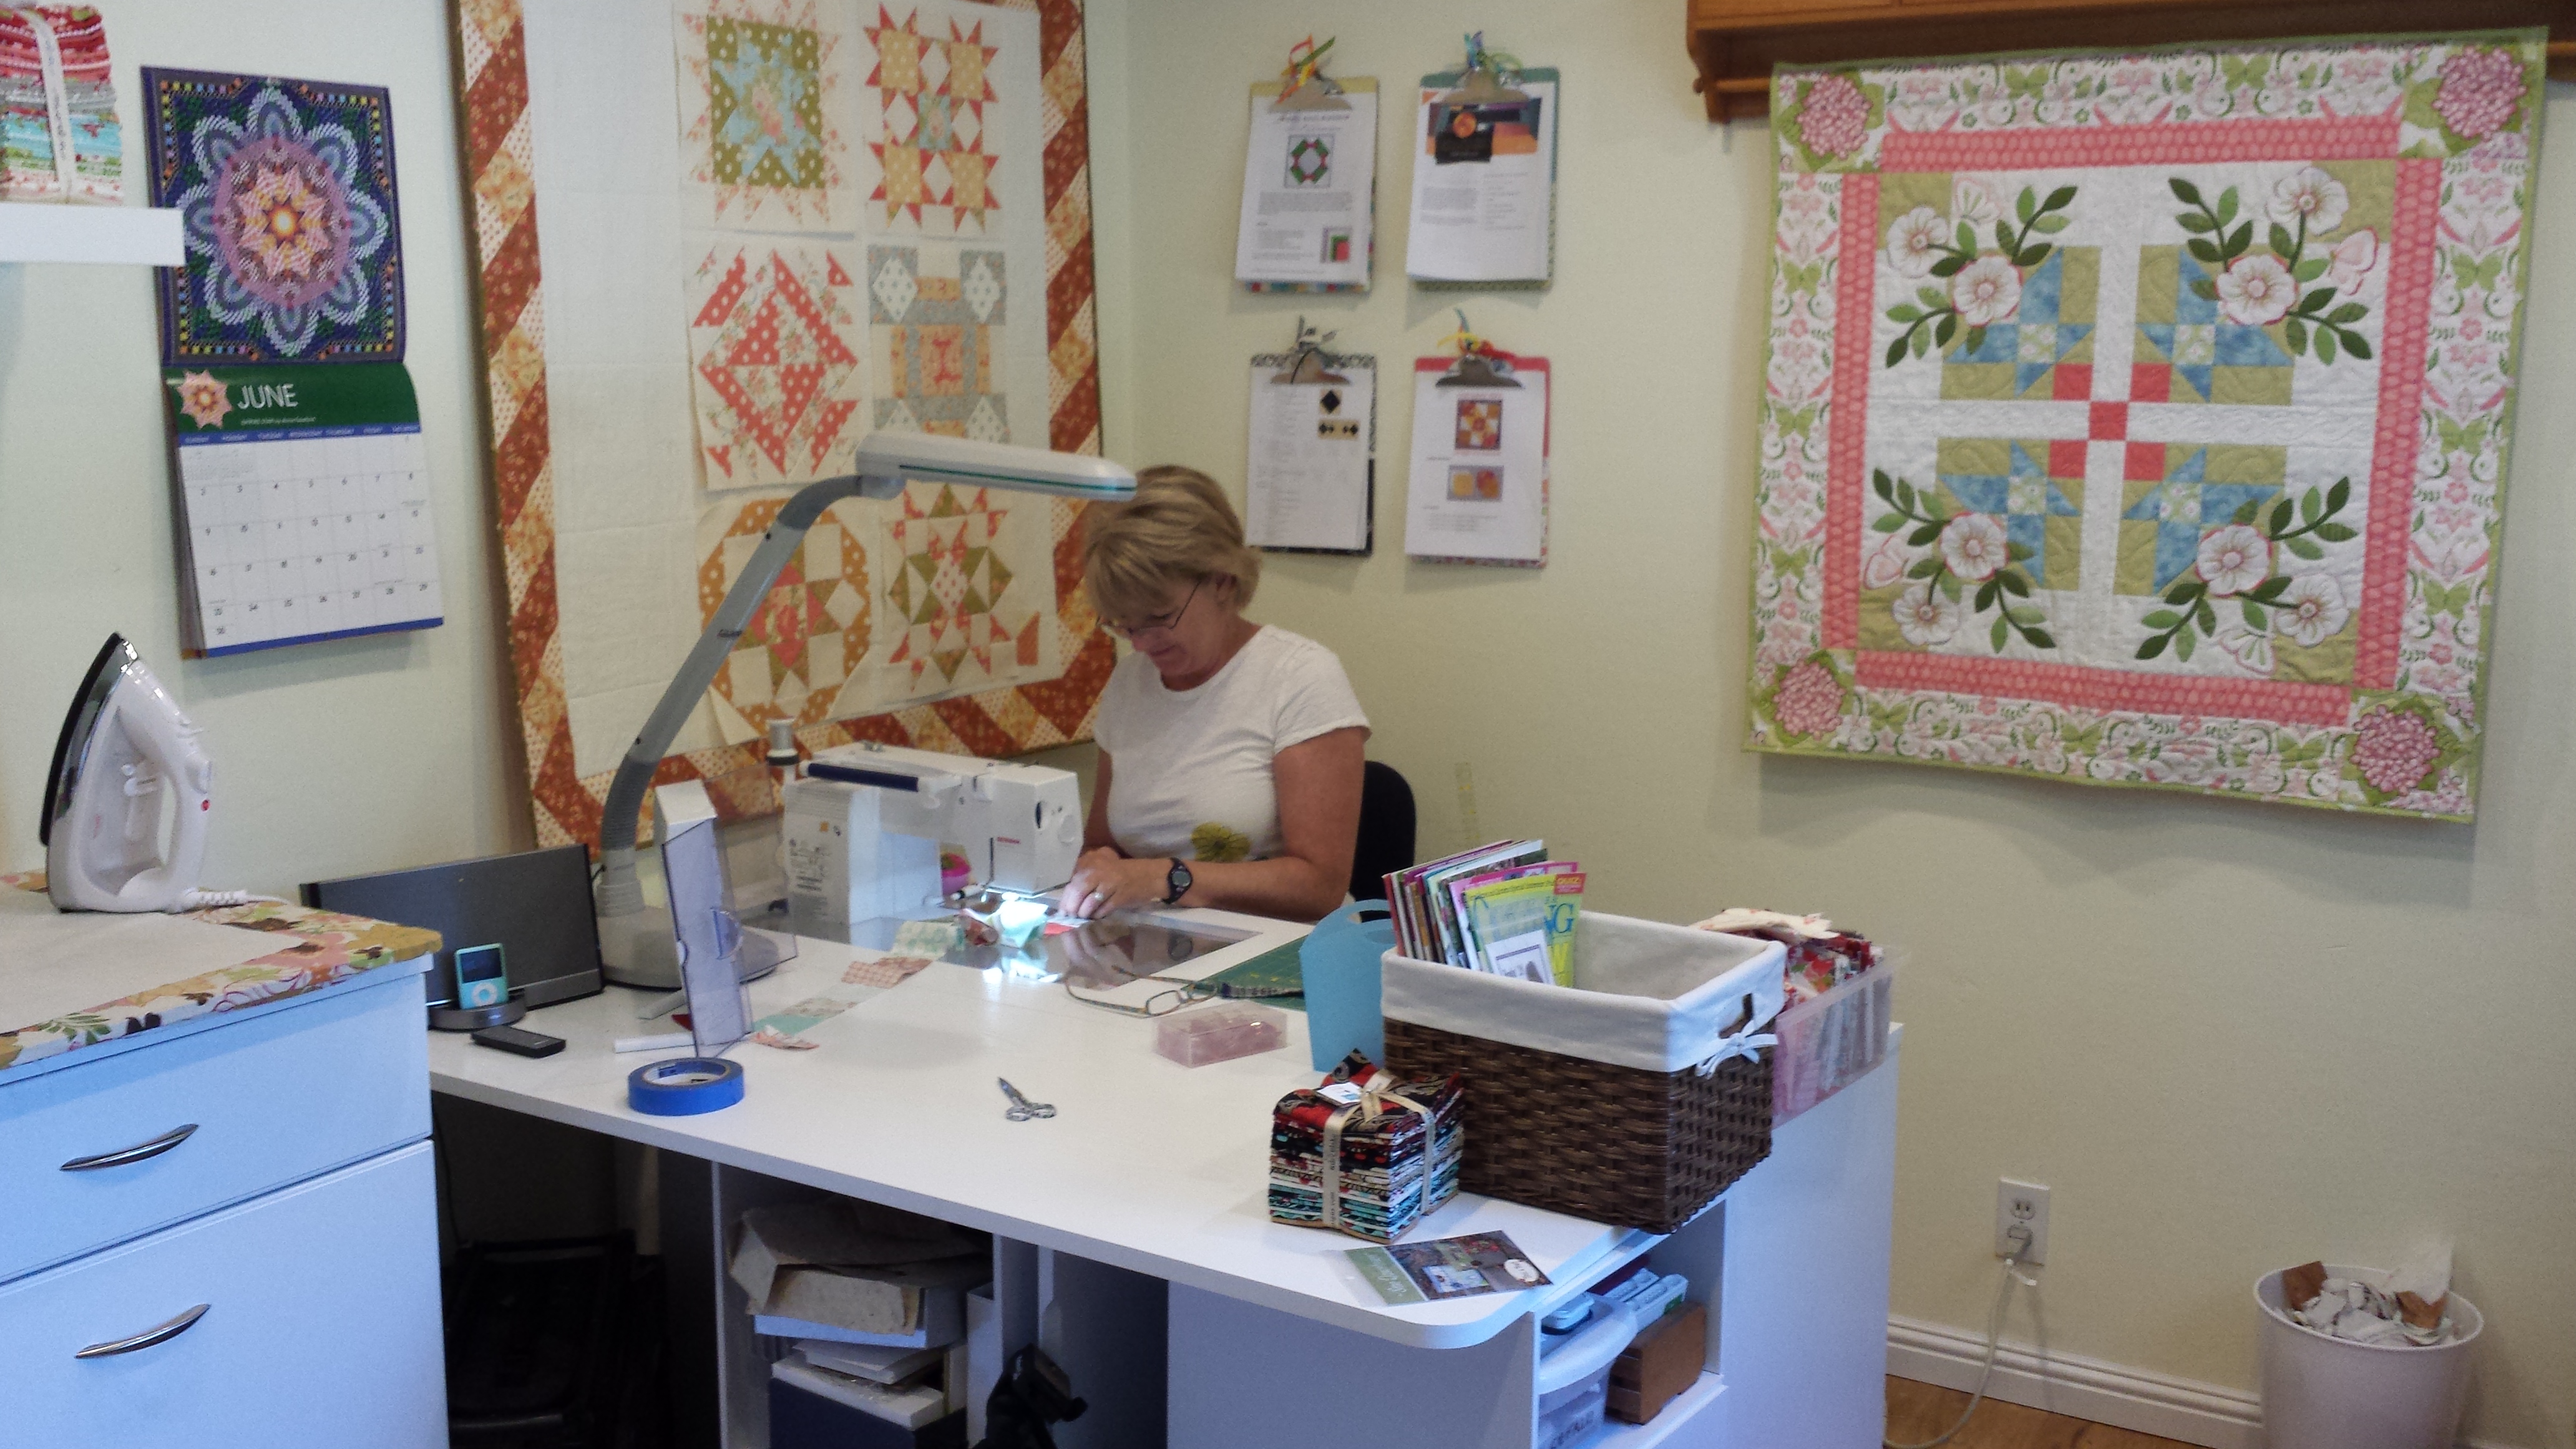
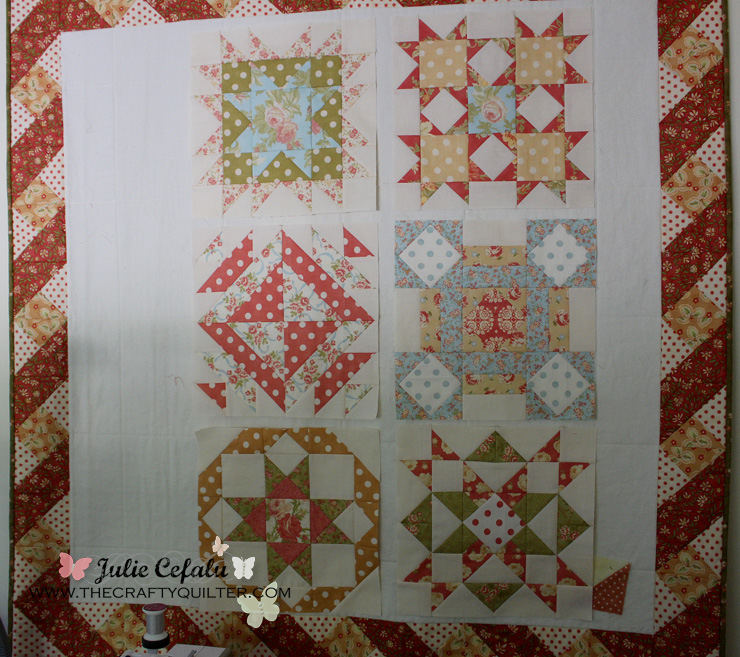
My design wall is a 52″ bordered quilt with a flannel center. I quilted it with a 3″ grid so that I can lay my blocks out straight.
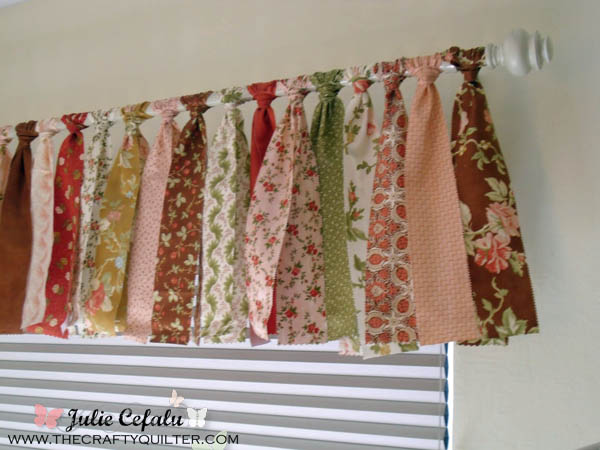
I made my own window valance using 2 1/2″ strips from a Fig Tree jelly roll. It’s really easy and you can find all of the details at my tutorial here.
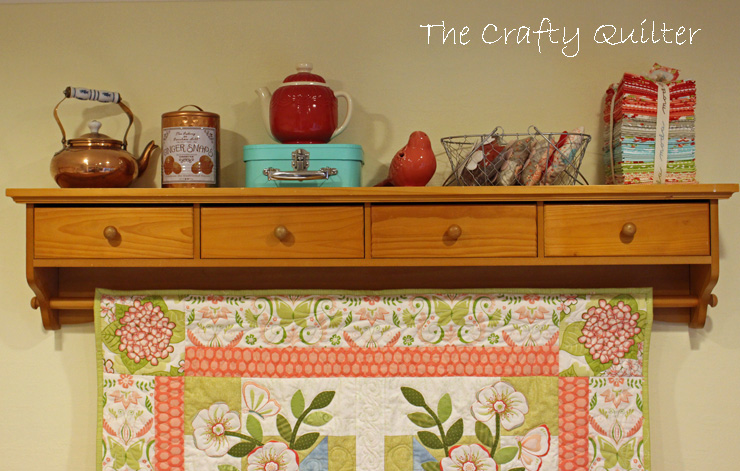
I found this shelf at a consignment store for $20 and those little drawers are perfect for holding my specialty threads. Of course a seasonal wall hanging and a few odds and ends make it pretty too.
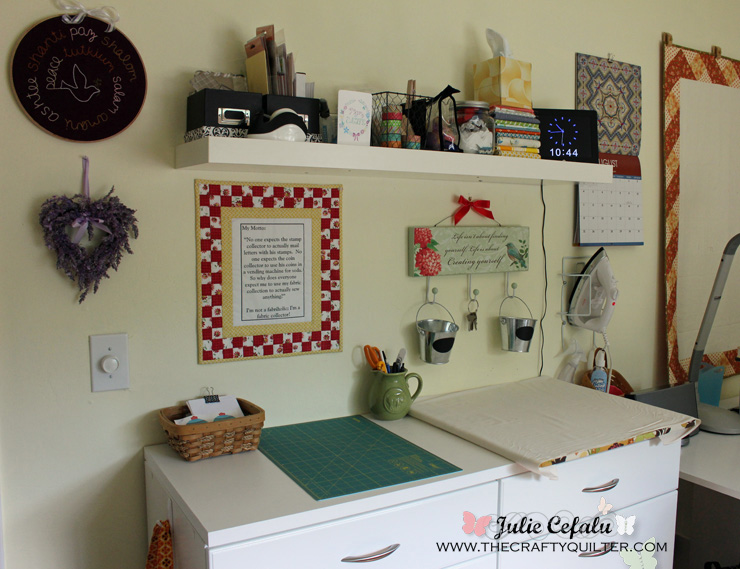
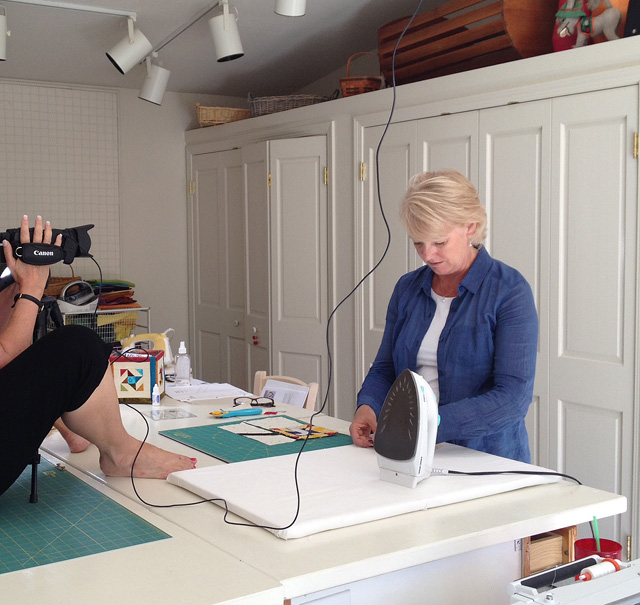
I have an ironing station that sits on top of two cabinets that I built from Orchard Supply Hardware. My “ironing board” is a piece of plywood that has one layer of batting, some decorator fabric and a piece of muslin. You can find the instructions to make your own pressing board at Sew Much Like Mom. I think I need to make a larger version, but this works great for piecing blocks.
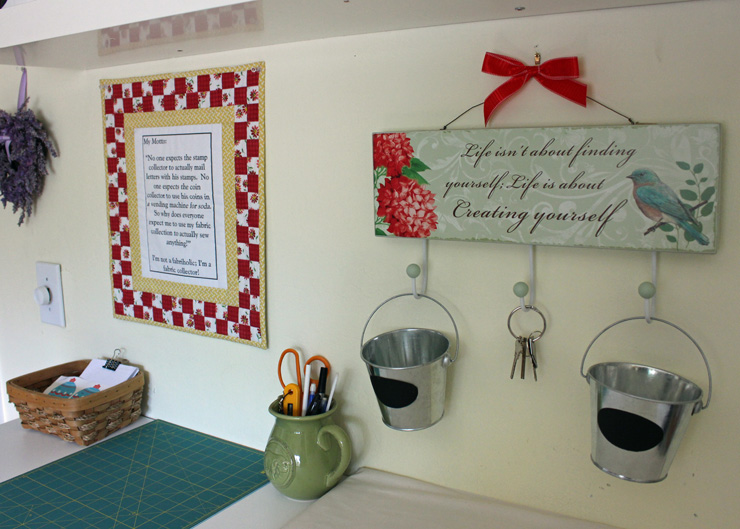
I recently added some little touches of sweetness with the small scrap buckets hanging from the “Creating Yourself” sign. To the left is my Quilter’s Motto. You can find my tutorial to make your own here.
hiding spilling everywhere in this room. Some of it is stacked neatly on top of shelves:
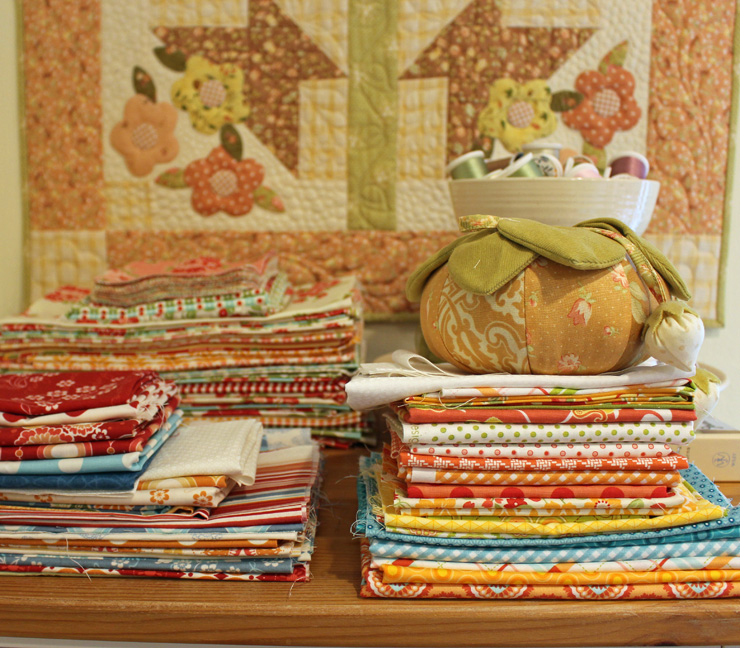
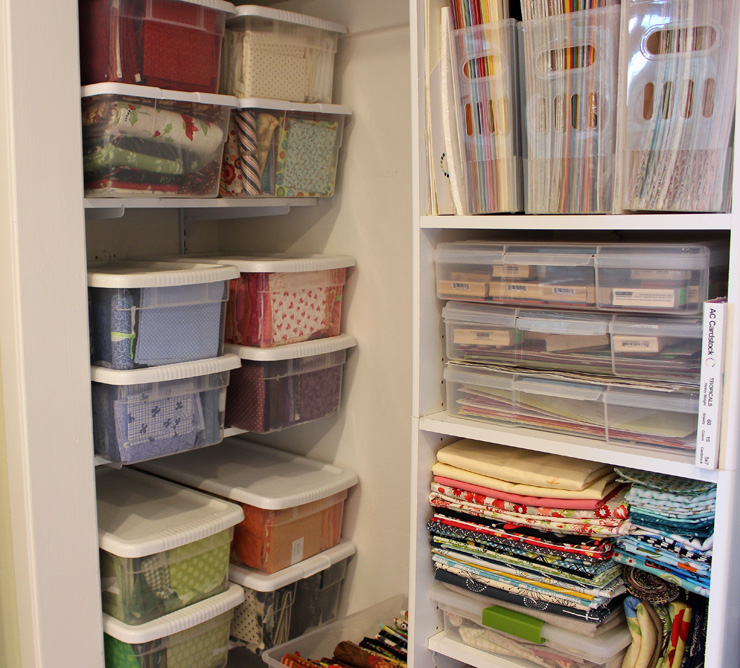
obsession weakness. One more thing to work on in my life. You know how a space can look all neat and pretty, but there’s a warning that says, “don’t open this closet door”. That’s me, but I don’t have doors on my closet! This is the closet’s before picture:
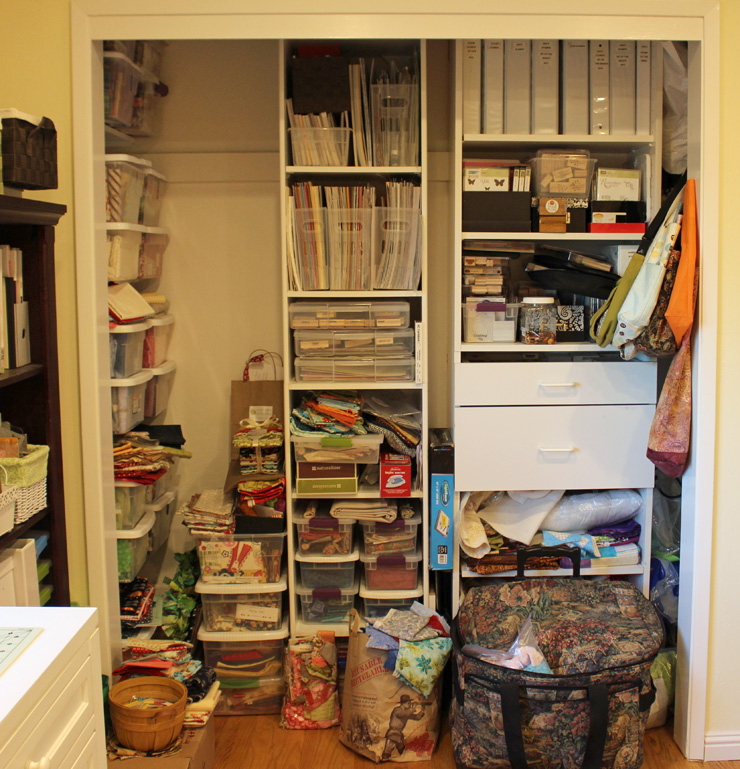
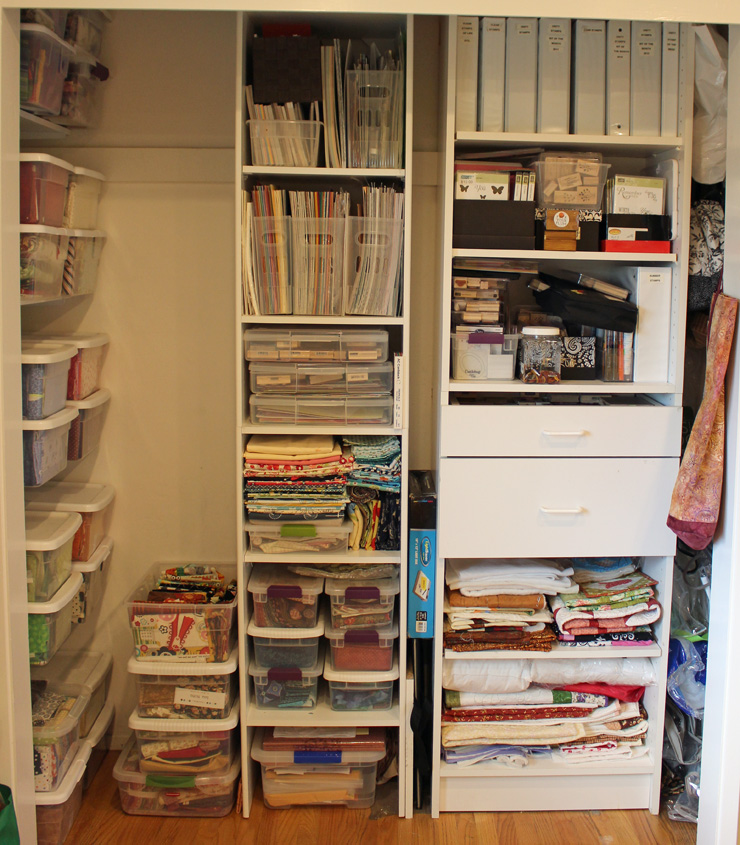
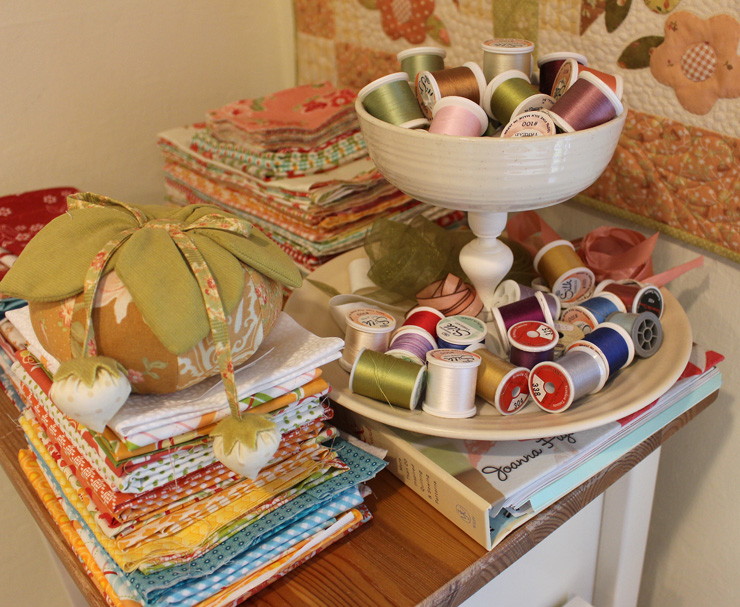
My silk threads reside in this tiered plate and bowl that I made.
This is my fabric stash getting organized by color and collection: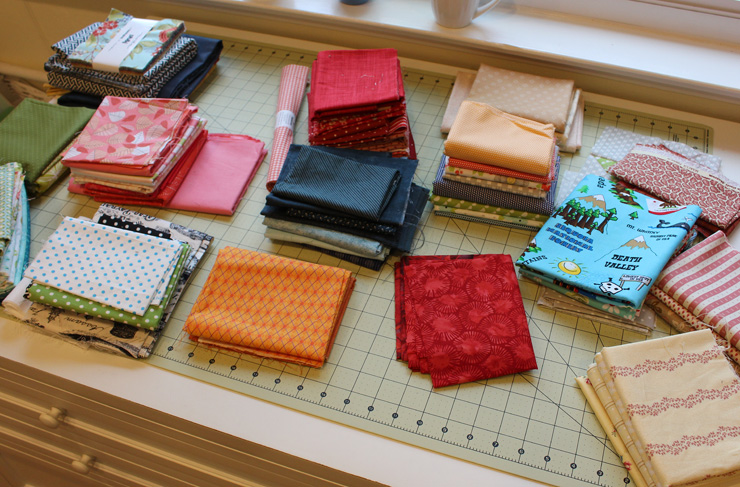



I love the ideas you shared. I made the jelly roll valance last night for my sewing room. It looks great! I would like to make the boarded design wall like yours using another jelly roll to match the valance. Could you share with us the pattern for your boarder?
Lovely room! Does your window face north? I have an east facing window and have to be careful in the summer, as the sun beating in on the cutting mat can ruin it by causing it to warp. I put the shade down allot in the summer. Thank you for sharing.
where did you find the Perfexion sewing table (cabinet) I bought one back in 2005 or so and am now looking for another. Have had trouble locating one. Any suggestions would be appreciated. Mary Ellen
Hi Julie – I wanted to give you an idea I found for my open door closet – I didn’t want to doors on it either – so I put a decorative curtain rod at the top and added 2 side panel drapes with tie backs that help the panels lay to the side with a soft look. It doesn’t really cover the opening but it makes it look softer and prettier. Take care, Bev
Thanks for the tour! Beautiful space! I also removed the closet doors in my “craft room” and hung light weight, semi-sheer curtains (inexpensive from Bed Bath and Beyond) on a tension rod so I can hide the clutter as needed.
Where can I buy a rolling ironing table with shelves and doors vs. baskets?
I love your sewing room and all the creative ideas you use to make it a great sewing room. You have inspired me to finish my sewing room. I am new to quilting and recently joined a Quilt Club where I live. Just finished my first wall hanging and got my hubby to hang it up. I just love being in there now when I sew and see my wall hanging. I plan on making the Quilters Motto. All quilters should have it.
I love your sewing room. I am new to quilting and finished my first wall hanging. You have given me some ideas to add to my sewing room. Your wall hanging is beautiful. Plan to make the small sewers “motto “. I think it is perfect for a sewing room. You have inspired me to finish my sewing room.
I love your craft room. So organized and functional. I am working on my craft room right now. Just bought a table for cutting and sewing. Just getting started. Thanks for your post you have inspired me to finish mine.
Your design wall is genius! Great idea to add a border and quilt the grid!
I love what you have done to your “create” room. I especially love the window treatment of jelly roll strips!!
Fantastic, Julie! Great use of space. And isn’t it true that you get so much more done when your space is well organized? And definitely more fun to work ..er.. play!
Julie ! What great ideas. You are so creative. I made my sewing table out of glued 2×8’s
and put it on 2 dressers I found at a garage sale.Ideal hight for me.Then I cut out the
lg.slot for my machine and was ready to go. I used 2 in.styrofoam that I attached to the
wall and then covered with 1 1/2 yrds of gray flannel as a design wall. The fabric and
blocks adhere to the flannel and I can see my quilt as it progresses. Love your work.
T.
Great idea, Teresa! Thank you for sharing it!
I love your valance… can I copy the idea….. so cleaver…. I am retiring in Jan…. maybe my room will look like yours one day…. for a day….lol
Hi Julie, how brave to show us the ‘before’ picture, I couldn’t with my sewing room! Love your layout, and wish I had a sewing table to set my machine down into. Does it make quilting easier?
Ps. When I reply, as I sometimes do, to your reply to my comments, does it come through on your mail?
Yes, Edith it does make quilting a bit easier, especially on larger quilts. And, yes, your replies come through my email. Thanks for checking!
Julie, you have a wonderful studio! You must be very happy in your private space, with your projects, your thoughts…The cutting table from the window with the large cutting mat are a dream for me! But I love all that little details. Happy sewing and thanks for shared with us!
Love your cutting table. I’ve never seen one like that before.
Oh my! One of the prettiest I’ve seen!
Wow, I love it! So pretty and light and airy. It must be extra fun to sew in your wonderful room!
Oh that was fun…getting a sneak peek inside your sewing cave. What kind of light is that over your sewing machine? An Ott Light? If so, what size. I really like the size of that particular one. The one I have is too small. I have a suggestion that I plan to use and you might like…I’m going to hang a nice colorful curtain in front of my closet. I too took the doors off my sewing closet but I still would prefer to have it behind Closed “curtains” so to speak. I think I’ll make mine 2 pieces so I can pull it back from the middle rather than having to pull the entire panel back to get into it. I used to use this trick in my classroom all the time. Your design wall is a good idea with the nice quilt borders. I have the back of a vinyl tablecloth hung and it isn’t very pretty. I got lots of good ideas for my soon to be revamping of ye old sewing cave.
Thanks and Blessings
Gmama Jane
Thanks for the great idea! I hadn’t thought of two curtain panels and that would make it easier!
I have wanted to reorganize my sewing room and seeing your photos has given me inspiration. I would love to work in your space! Enjoy and happy creating!
Your sewing room is so pretty and organized! I can see how you get so much accomplished! And, I love your valence over the window!
I like how you have organized your space. It must be so much fun to sew in such a lovely room. Thanks for sharing and Happy Stitching!
There is only one thing wrong with your sewing room. it is too bloody neat! how in the world do you expect to design anything in all that neatness! lols
Julie, you are truly amazing! =-)
Great sewing space! Thanks for sharing!
Your room is gorgeous and I love that big cutting table! Thanks so much for sharing!
What a happy, lovely sewing space you have!!!!
Hey Julie,
What a really sweet craft room you have there. I always love taking a ‘tour’ of someone else’s space. Thanks for sharing.
Tanya
What a heavenly space! So inspiring, and no wonder so much great stuff comes out of that room. I love every detail!!!
What a fantastic studio space! You have such great ideas. I love you design wall. Happy quilting!
Beautiful room, lovely fabrics and such a selection. Inspires me to get busy with a space I can work in and have everything in one spot. It looks so peacful, your own little retreat.
Love your sewing room so inspiring, thanks for sharing.
Julie, I love what you’ve done with your room. With everything well organized, I bet it allows for more sewing time and less “searching” time. Did you design the overall layout first or did it evolve bit by bit? Thank you so much for all your great information.
I enjoyed looking at your sewing room. It is really nice. Could you tell me how your made your design wall?
Thank You,
Vickie
I made my design wall by first creating the center out of flannel, it’s 40 inches square. Then I added the borders which are 4″ finished squares. I used Warm & Natural cotton batting and I just quilted a large grid in the center. I’ll try to post instructions in a separate tutorial. Thanks for asking!
Great room. Thanks for all the links and ideas!
My goodness you have a stash! Sew nice to organize!~