Summer Fun Quilt Along, Week 5
Wow! It’s finally here, the Summer Fun Quilt Along week 5 is the last set of instructions for this bright and cheery wall hanging.
Today, we’ll be focusing on the SUMMER applique section and sewing all of the sections together. I do love applique, but I know many of you don’t. There are a few options that I’ll share toward the end of this post. (I’m hoping I can convince you to try the applique first 😉 ).
There are so many ways of doing applique. I’ll be focusing on raw edge machine applique using fusible web for this project. This is usually the quickest and easiest way to create applique pieces. Feel free to use the technique you’re most comfortable with. You can find a roundup of machine applique techniques here.
Here are the techniques we’ll be working on this week:
- Machine applique using fusible web
- Snipping seam allowances to reduce bulk at seam intersections.
- Pinning long seams really well.
Quilt size: 30″ x 32″ SUMMER applique block size: 6 1/2″ x 30 1/2″
All seams are made with 1/4″ seam allowance.
The pdf which includes the applique letter templates can be downloaded here: Summer Fun Part 5
SUMMER applique section
Supplies
- Background fabric: 1/4 yard
- Letters: 6 large scraps of fabric in a rainbow of colors
- Fusible web paper: Heat’n Bond Lite Iron-on Adhesive
or similar
- Thread to match applique letters
- Letter templates (page 3 of PDF): Summer Fun Part 5
Cutting Instructions
Background fabric: (1) 6 3/4″ x 31″ rectangle
Applique Instructions
I’m going to give basic applique instructions for this tutorial. If you’re new to applique, I suggest you check out my in-depth machine applique series and My Favorite Tools for Machine Applique.
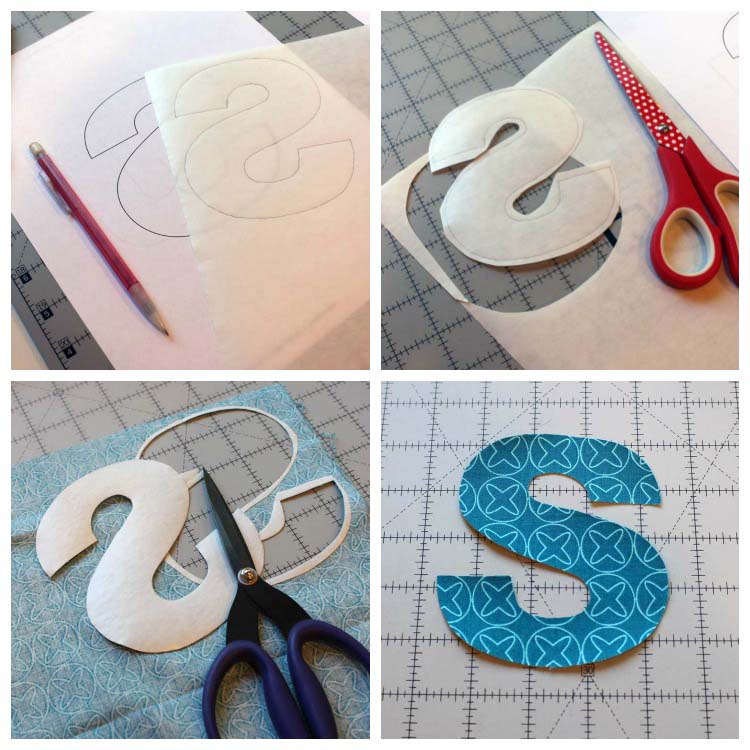
- Print out the letter templates at actual size (they have been reversed for machine applique).
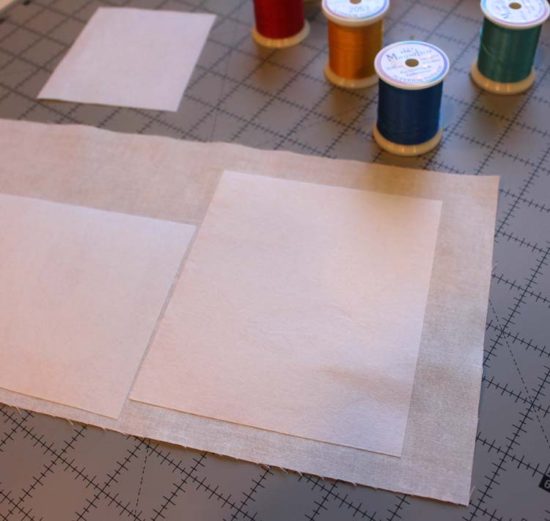
- With a pencil or pen, trace the letters (which have been reversed) onto the paper side of the fusible web, leaving 1/2″ space in between each letter.
- Cut out the letters leaving 1/4″ seam allowance around each.
- Fuse each letter onto the WRONG side of your fabric.
- Cut out each letter exactly ON the line.
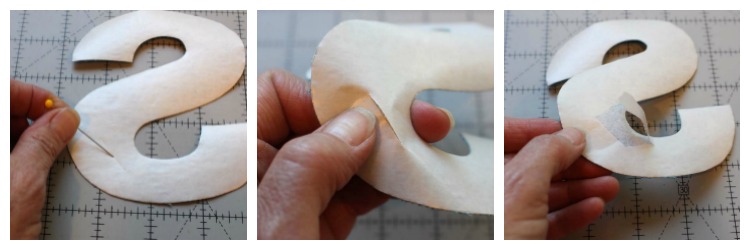
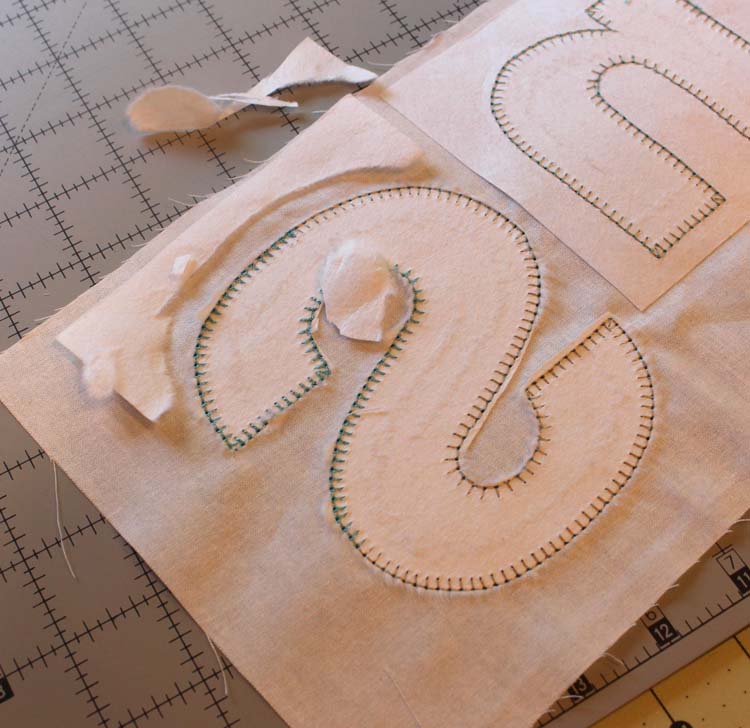
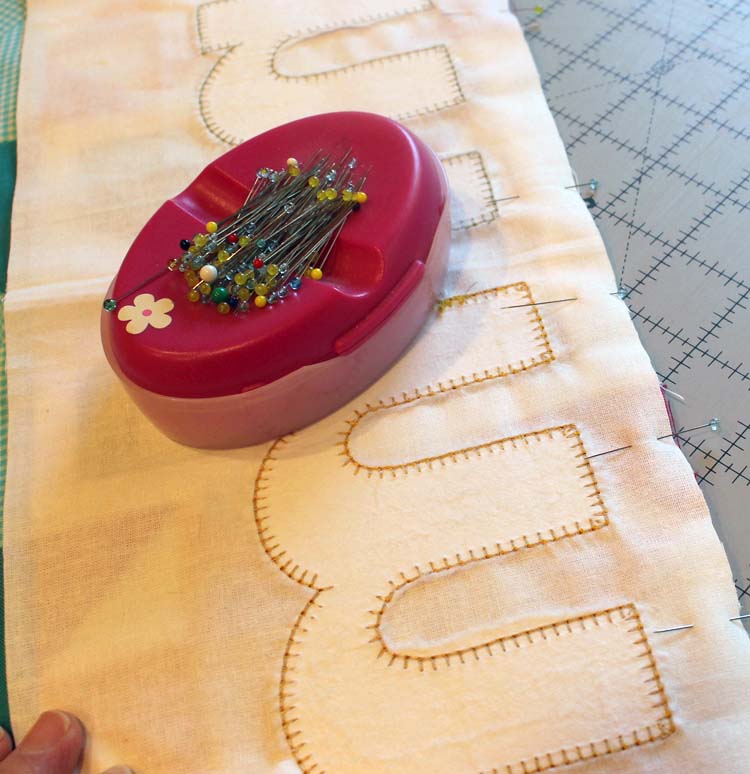
Remove the paper backing from the fusible web. I find it’s easiest to do this by scoring the paper with a pin. It will snap apart at the scored line. Then you can peel it easily away. Otherwise, you fray the fabric edges as you try to get the paper to release.
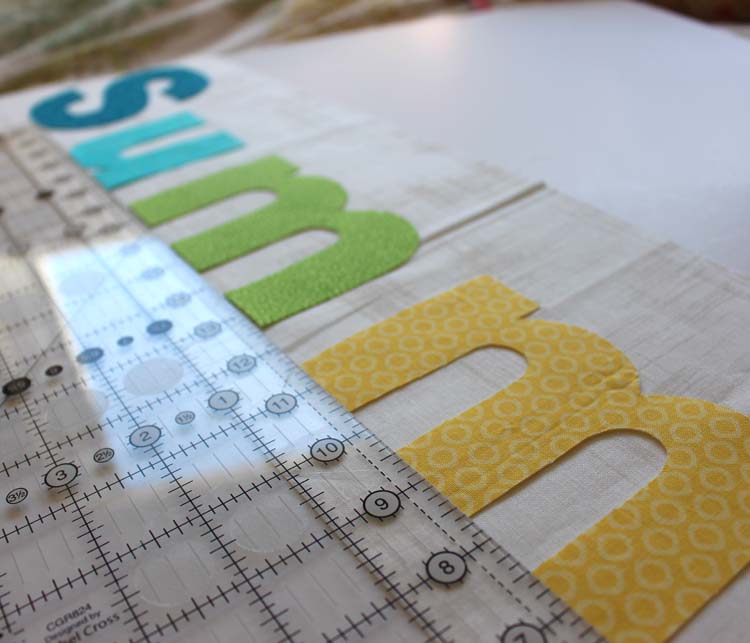
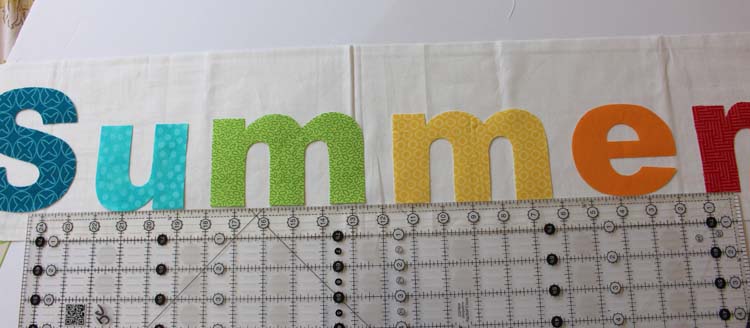
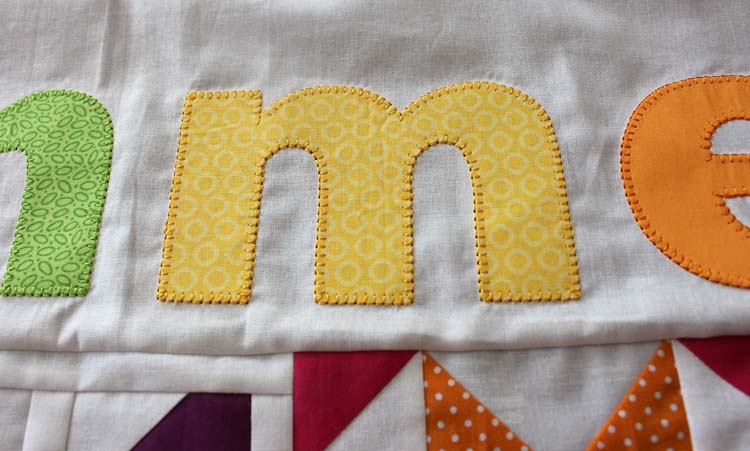
Place the letters onto the 6 3/4″ x 31″ background rectangle, evenly spaced across. I placed my letters 1″ from the long bottom edge and 1 1/2″ from both short sides. You can use a long ruler to make the placement more consistent.
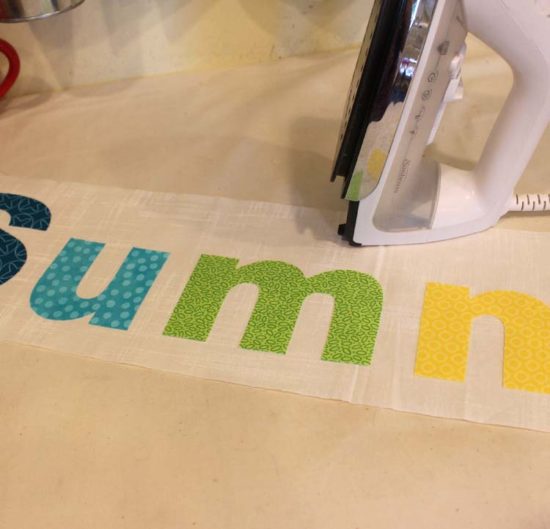
Fuse each letter onto the background fabric. Check the manufacturer’s instructions for the fusible product that you’re using for the amount of pressing time.
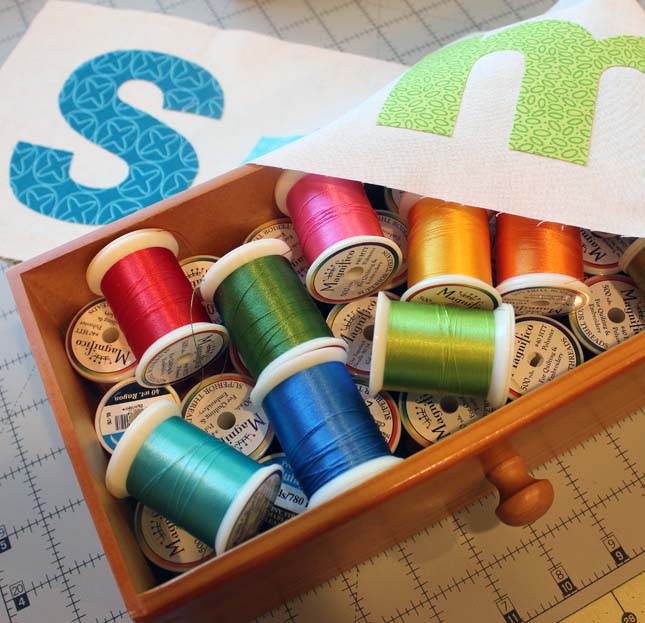
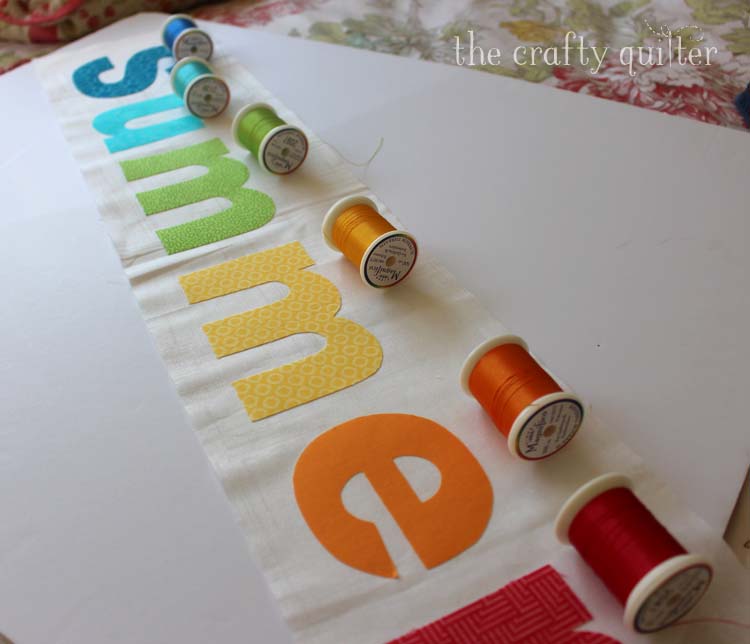
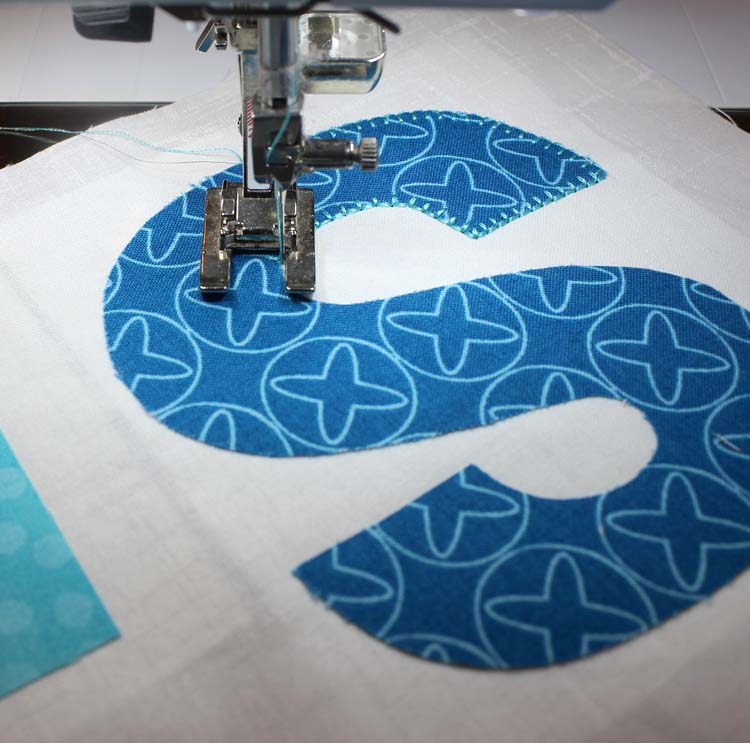
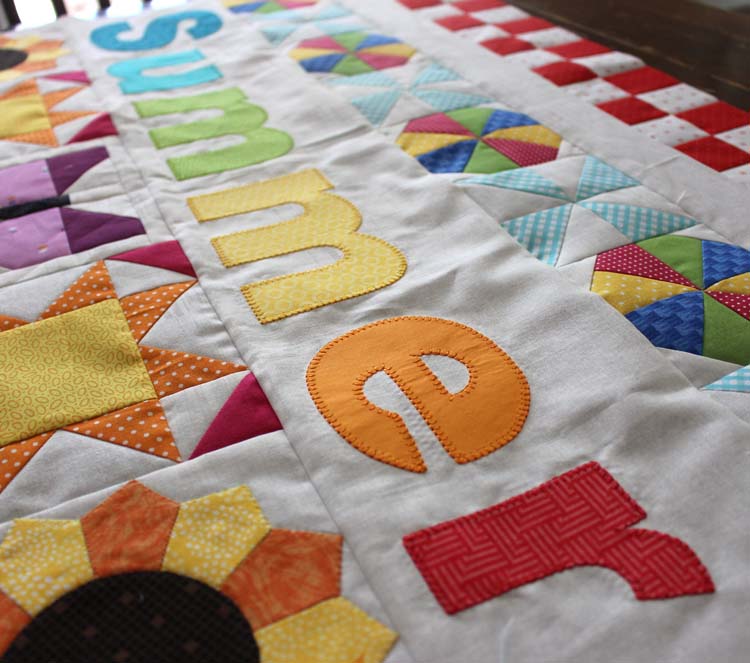
Now you need to stitch around each letter. Choose a thread color to match or you can use a contrasting thread for more (look at me!) distinction. I used Superior Thread’s Magnifico which is a tri-lobal polyester and has a beautiful luster to it. But cotton or rayon thread would be fine, too.
I recommend using a stabilizer on the back of your letters when you machine applique. It helps produce more consistent stitches and it keeps the background fabric flat. I used Quilter’s Select Print n Piece Fuse Lite but any lightweight tear-away stabilizer will be fine. I like Quilter’s Select because it has a temporary fusible on the back which keeps it in place and I only have to remove the stabilizer from the outside of the shape. I keep it behind each shape which gives it a slightly raised effect. It will eventually soften to a thin fiber when washed or with regular wear.
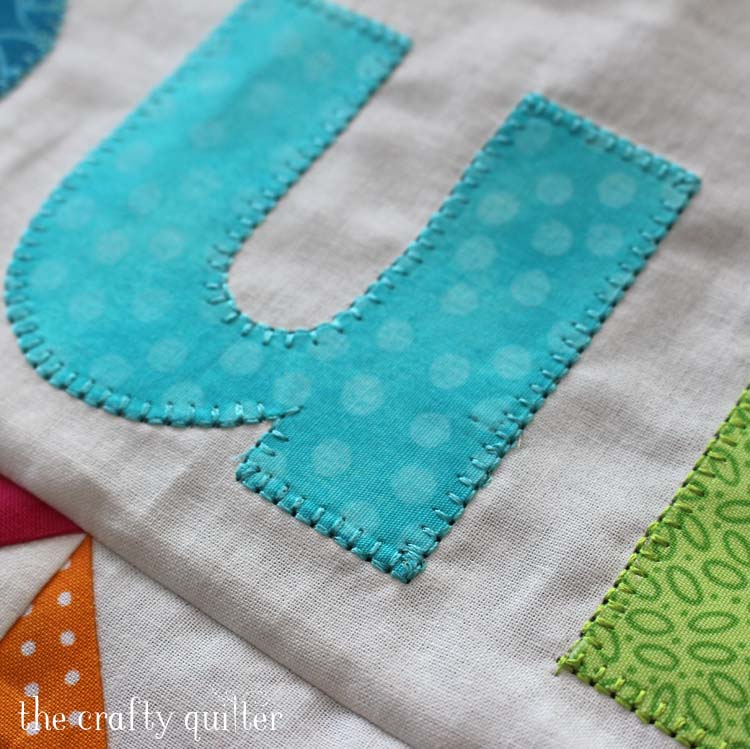
It’s time to stitch around each letter using a blanket stitch, a zig zag stitch or a straight stitch. I chose to use a double-blanket stitch (#1330 on my Bernina 770) which is thicker than a regular blanket stitch. My stitch width was 3.0 and my stitch length was also 3.0. If you’ve never done machine applique, I recommend choosing either a zig zag stitch or a regular blanket stitch and practicing that stitch first. For more specific information and photos, see my tutorial – Machine Applique Stitches.
Once all of the stitching is finished, you can gently remove the stabilizer from the wrong side. Be careful not to distort or break the stitching when you do this.
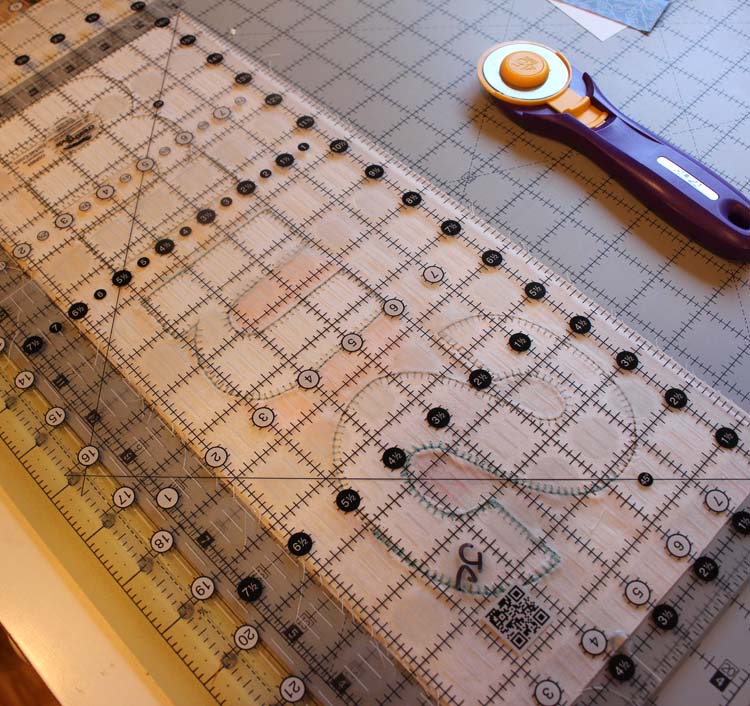
Trim the background rectangle to 6 1/2″ x 30 1/2″. I found it was easiest to do this by folding the rectangle in half.
Alternate applique ideas
If you don’t want to do applique, here are a few alternate ideas:
- You could substitute another 2 1/2″ wide sashing strip of background fabric in its place.
- Find a rainbow-colored fabric or a summer scene print to replace this section with.
- Add a row of your favorite quilt block instead. You could make five 6 1/2″ squares of something. Maybe paper piecing is your thing.
Sewing together the sections
Background fabric: Cut (2) 2 1/2″ x 30 1/2″ rectangles for sashing strips
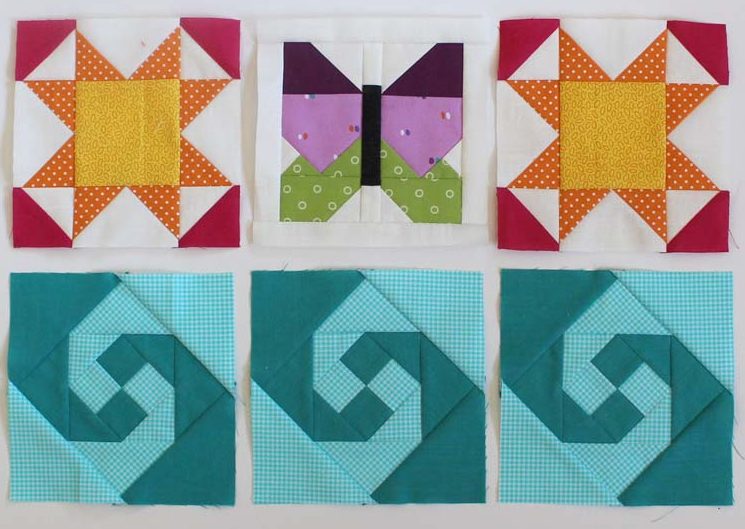
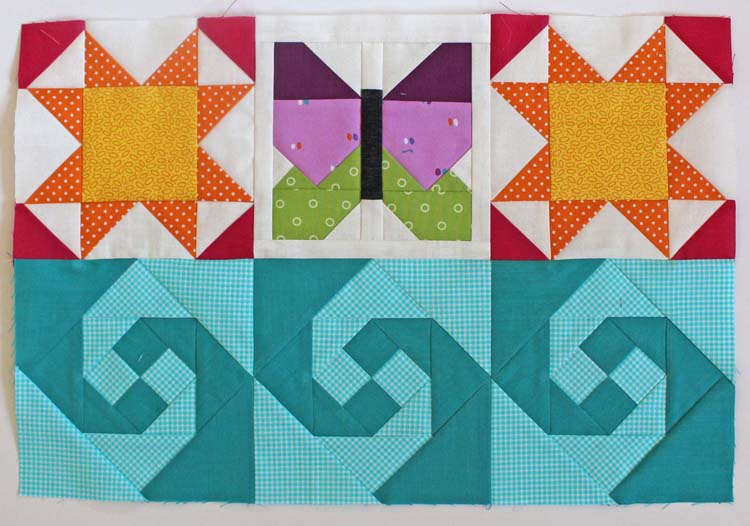
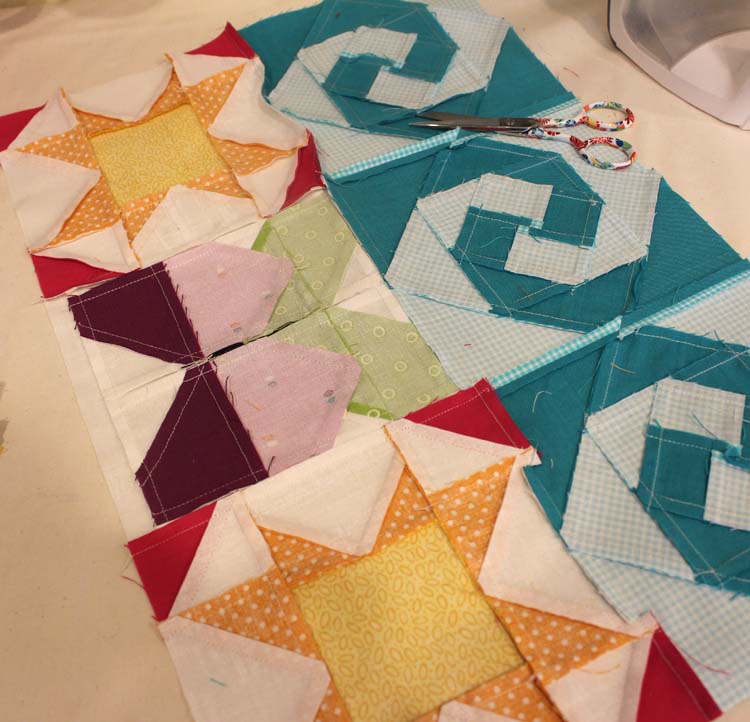
Arrange the wave blocks, sunny stars and butterfly block as shown below and sew them into rows.
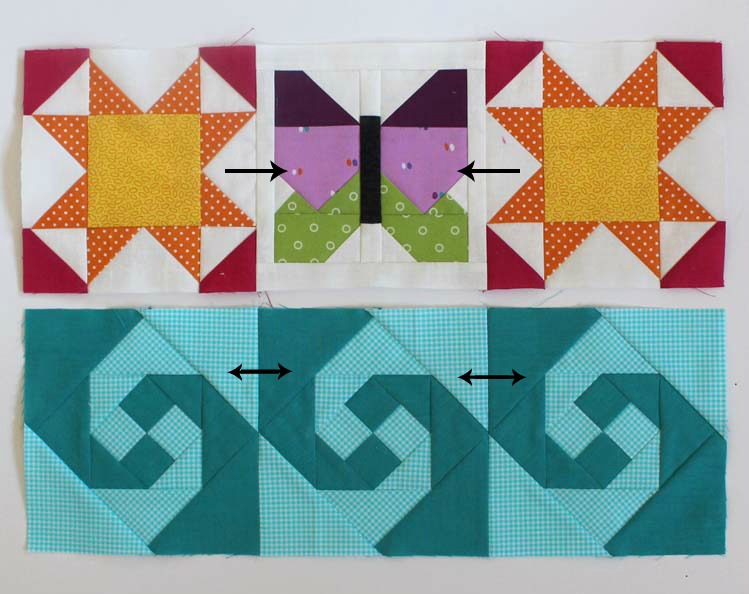
I found that the seams that joined the wave blocks needed to be pressed open. Those diagonal seams get really bulky when they come together. I pressed the seams between the butterfly and sunny stars toward the butterfly block.
Sew the rows together, matching seams.
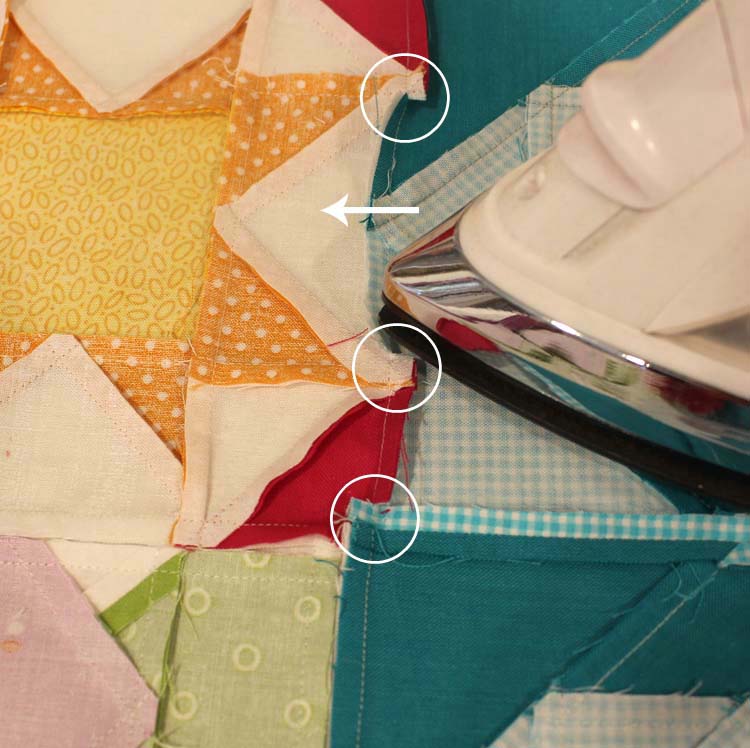
Let me talk about pressing those row seams. You have the option of pressing it to one side or the other OR pressing it open. But, all of those options still have bulky seams that don’t want to cooperate. My solution is to snip the seam allowance on either side of a bulky seam and let it lie the way it wants to. Be careful and don’t snip too close to the seam!
In the photo below, I wanted that section of the wave block to be pressed to the left, so I snipped at the seam above and below it (indicated by the circles). I also snipped at the bottom seam intersection so that I could get it to press the way I wanted it to.
You can see in the photo below how the top section of that row seam naturally wants to go in several different directions because of the strength of those diagonal seams. The bottom section has been tamed by the snips into the seam allowance.
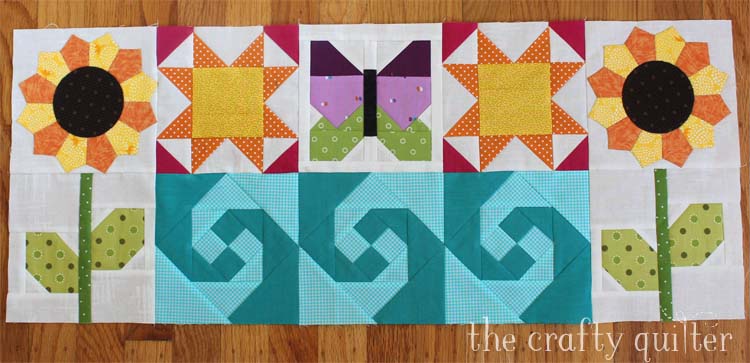
Place the sunflower blocks on each side of the center section from above and sew these units together.
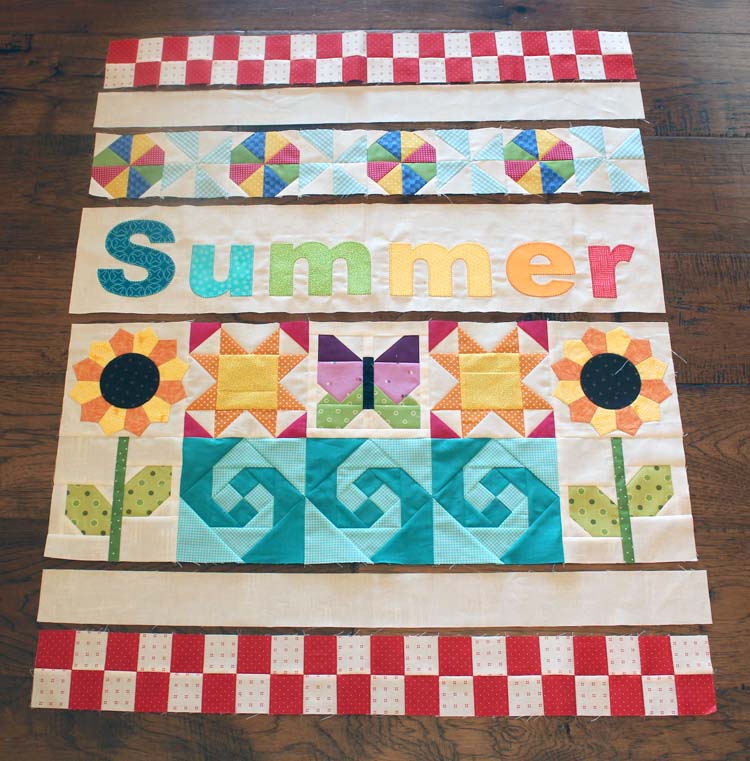
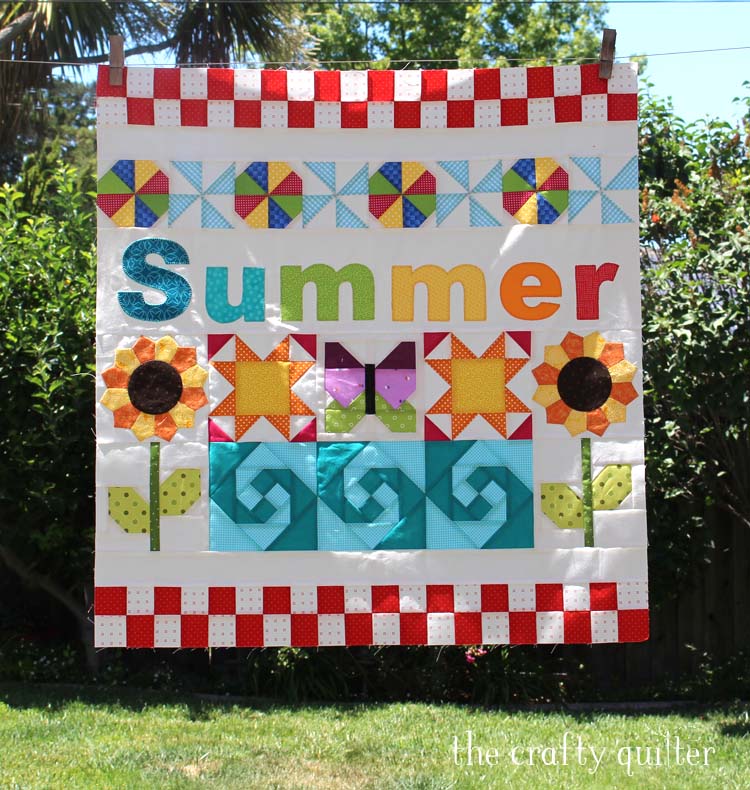
Arrange the checkerboard rows, beachball and pinwheel row, applique row, center section of pieced blocks and sashing strips as shown below.
Sew the rows together, making sure to pin them really well. When you’re sewing long row seams like this, it’s best to pin so that the row on top doesn’t slide ahead.
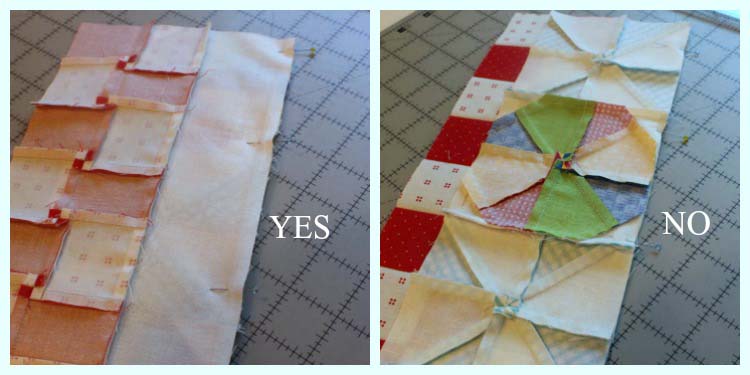
Also, I find it helpful when sewing together a plain strip of fabric to a pieced section of fabric to have the pieced section underneath as I sew it through the machine. This lets the feed dogs do the work of getting the bulky seams underneath the presser foot.
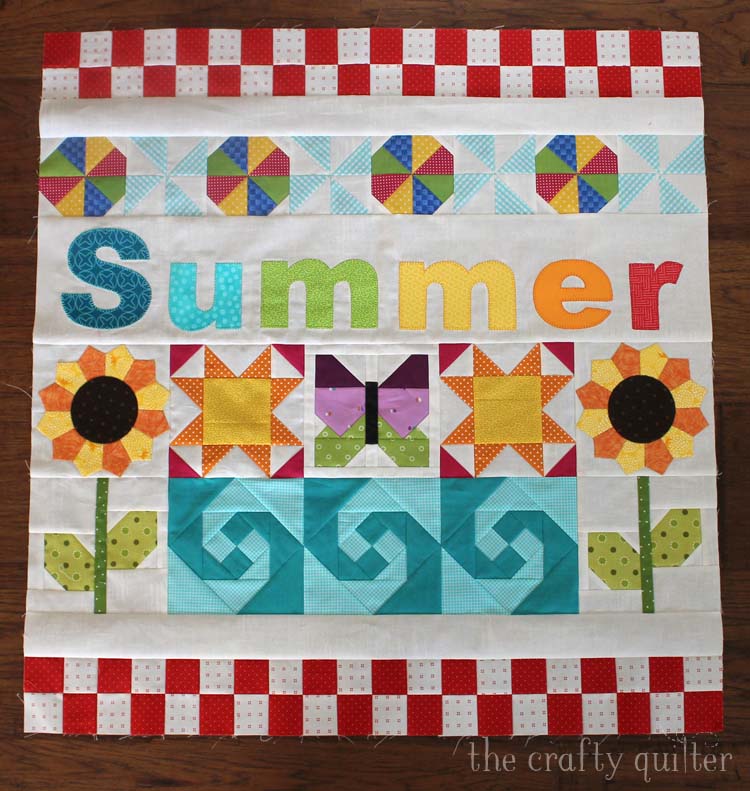
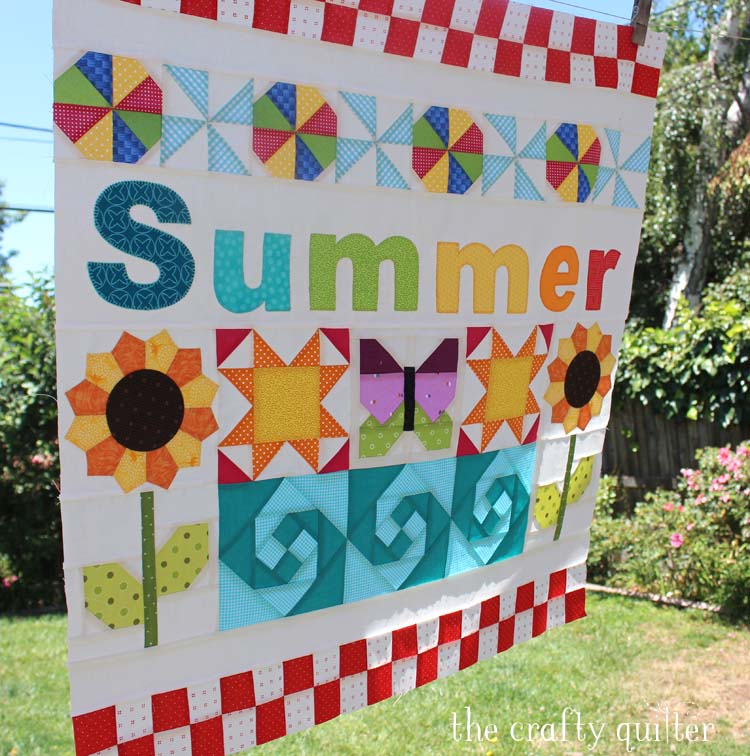
Your Summer Fun quilt top is now complete! Yeah!
Eeeek! Don’t you love it? I love how bright and summery this wall hanging looks! I can’t wait to see yours next. I’ll have the linky tool available on July 6 where you can upload your photos to be entered into the giveaway. There will be SIX winners total!
I’ll keep you updated as I quilt this one. I’m still not sure what I’m going to do there.
Thanks for following along and have a wonderful weekend!



Late to the party but the fun seems to be continuing! Love this design! Colors are fabulous! Thanks you so much for sharing this.
Duh! Can’t figure out the link up thing. It says my file is too large. Help!
Happy to say I have my top together and I love it!!! Looking forward to seeing everyone’s flimsy’s on reveal day.
How cute and totally summer. I was trying to coordinate with my kitchen colors…i hope to get mine done this week-or on the 4th when i’m off. As we were out of town all weekend!
Finished my quilt top today — since is was 90 degrees outside… Good day to spend quilting!!
Oh, my goodness, Julie! I’m just loving it!
This quilt is adorable! Love the choice of blocks you used and that awesome Summer applique! Thank you for your excellent instructions.
I do love this quilt. I just wish it were throw size . I hate to make a quilt I can’t use…for a quilt
Your quilt is so colorful and fresh! I do love it!
BEE-U-TEE-FUL !!!!!!!!!!!